
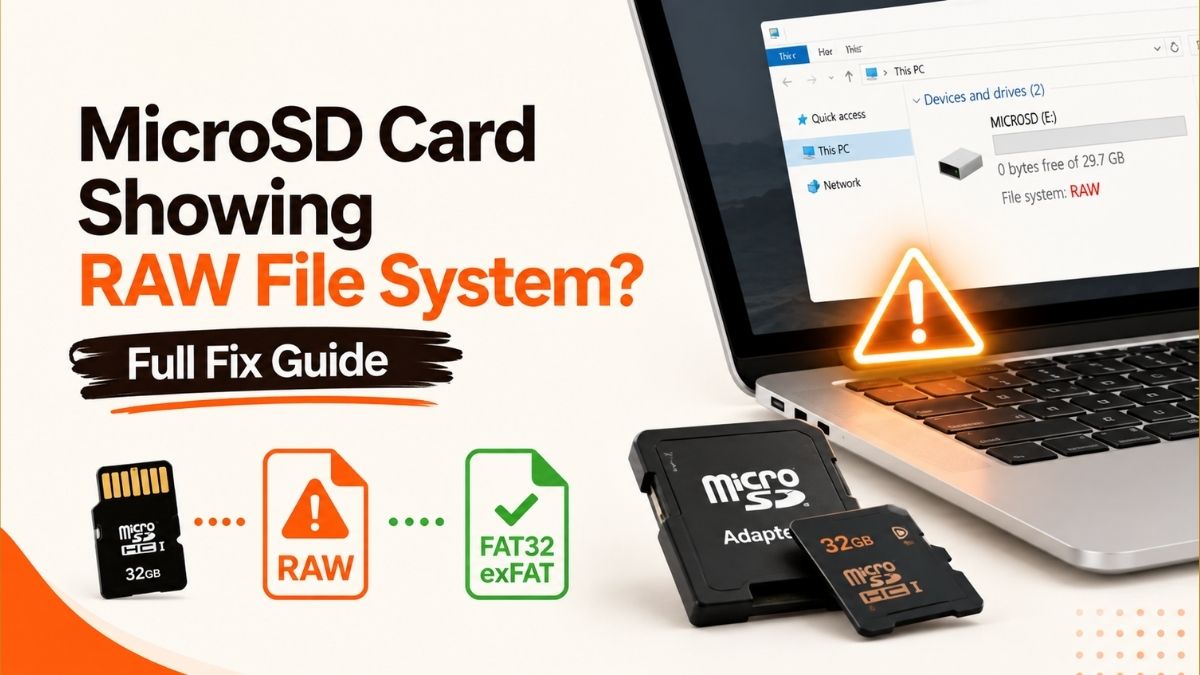
MicroSD Card Showing RAW File System? Full Fix Guide (No Data Loss)
Your card isn’t dead — the file system just broke. Here’s the exact recovery-then-repair process I use, without formatting away your photos.
Quick Answer
A RAW microSD card means Windows can no longer read its file system, not that your files are gone. Don’t format it yet. First, image the card and recover your files using a tool like EaseUS Data Recovery Wizard (free up to 2GB), then try to rebuild the partition without formatting using the free tool TestDisk. Only format as a last resort, after your files are safely copied elsewhere.
I’ve had this happen mid-shoot more times than I’d like to admit — pull the SD card out of a camera, plug it into a laptop, and instead of a folder full of RAW photos, Windows says the drive “needs to be formatted.” That word “format” is doing a lot of damage in that sentence, because clicking it wipes the file index before you’ve recovered anything. So I don’t click it. Here’s what I actually do instead, step by step.
What “RAW File System” Actually Means
Every storage device needs a file system — FAT32, exFAT, NTFS — to keep an index of where each file physically sits on the flash memory. When that index gets damaged or wiped, the operating system can still detect the card electronically, but it has no map to read the data with. Windows labels this state “RAW” because it’s seeing raw, unindexed storage instead of an organized drive.
This is different from a dead card. The NAND chips storing your photos are usually untouched — it’s the map that’s broken, not the library. That’s exactly why recovery software can still read files directly off the memory even when File Explorer shows 0 bytes and asks you to format.
Why Your microSD Card Turned RAW
A handful of causes account for almost every RAW error I’ve seen or fixed:
- Unsafe removal. Pulling the card out mid-write, or powering off a camera before it finishes saving, is the single most common cause.
- Corrupted partition table or boot sector. A power dip, a failing card reader, or a crashed transfer can scramble the header that tells Windows how to read the card.
- Bad sectors or wear. Cheaper cards, or cards nearing the end of their write-cycle life, develop physical flaws that corrupt the index over time.
- Virus or malware interference. Rare on SD cards specifically, but it happens, especially with cards that get shared across public kiosks or unfamiliar computers.
- A file system Windows doesn’t recognize. This one catches a lot of people off guard: if you’ve used the same microSD card in a Nintendo Switch, Steam Deck, or an Android 14+ phone, those devices can format it as EXT4. Plug that same card into Windows, and it reports RAW — not because anything is broken, but because Windows simply can’t read EXT4 natively.
Before you do anything else: stop writing to the card. Don’t run a photo-transfer app, don’t let your camera “repair” it, and don’t click Format. Every write operation is a chance to overwrite the very sectors recovery tools need to rebuild your files.
Step 1: Image the Card Before You Touch Anything Else
My first move isn’t recovery — it’s imaging. Scanning a RAW card repeatedly, especially one with early bad sectors, means accessing the same fragile flash cells over and over. So instead, I connect the card to my computer through a USB adapter and use EaseUS Data Recovery Wizard to create a full byte-to-byte disk image. Everything after this happens on the image, not the original card.
- Open EaseUS Data Recovery Wizard, then choose Disk Image from the tools menu (or select “Search for Lost Data” and pick the imaging option when prompted).
- Select the RAW SD card from the drive list — in my case it showed up as the E: drive — and choose a different physical drive (never the SD card itself) as the destination for the image file.
- Start the imaging process and let it finish completely. On a 64GB card over USB 3.0, this usually takes somewhere in the 15–30 minute range, longer on slower readers or larger cards.
Step 2: Recover Your Files From the Image, Not the Card
Once the image exists, I point the scan at that image file instead of the physical card. This is the part that actually gets your photos back.
- In EaseUS, choose to search for lost data within the disk image you just created.
- Let the scan run. You can browse results by file path or filter by file type — I usually filter to Pictures and then narrow down to JPEG or RAW camera formats.
- Use the built-in preview to confirm files are intact before recovering anything. This step matters — a filename showing up doesn’t guarantee the file itself survived undamaged.
- Select what you need and click Recover, saving everything to a different drive. Never save recovered files back onto the RAW card.
In practice, most of my recovered JPEGs and MP4 clips opened correctly afterward, though file names are sometimes replaced with generic sequential numbers since the original index was what got damaged in the first place.
Step 3: Try to Repair the RAW Card Without Formatting
With your files safely off the card, it’s worth attempting a repair before wiping anything. I use TestDisk, a free, open-source tool that specializes in rebuilding damaged partition tables.
- Download TestDisk from its official CGSecurity site, extract the archive, and launch
testdisk_win.exe. - Choose Create to start a new log file, then select the RAW SD card and press Enter.
- TestDisk will try to detect the partition table type. In most consumer SD card cases it correctly identifies an Intel/MBR-style partition table — select whichever type it detects, or the one you know the card originally used.
- Choose Analyze, then run a Quick Search first and let it complete.
- If Quick Search doesn’t turn up a usable partition, switch to Deeper Search. It takes considerably longer but scans more thoroughly for the lost partition structure.
- If TestDisk finds a rebuildable partition, follow its prompts to write the new partition table. If it can’t find anything usable after both scans, formatting is the remaining option.
Step 4: Format the Card as a Last Resort
If TestDisk can’t rebuild the partition, formatting is the only way to make the card usable again — and by this point your files should already be recovered and saved elsewhere.
- Right-click the Start button and open Disk Management.
- Find the SD card, which will still show as RAW, right-click it, and choose Format.
- Give the volume a label and pick exFAT for cards over 32GB, or FAT32 for smaller cards and older devices that don’t support exFAT (check your camera’s manual if unsure — some older DSLRs are FAT32-only).
- Start the format and wait for it to complete. The card should no longer show as RAW once it finishes, and it will be ready to use again.
Formatting removes the file system entirely — treat this as a one-way step, which is exactly why recovery always comes first in this process.
Tool Comparison: What Each Option Actually Costs You
Pricing and what each tool is actually good for, based on the official vendor pages as of 2026:
| Tool | Best For | Price | Limitation |
|---|---|---|---|
| EaseUS Data Recovery Wizard (Free) | Recovering under 2GB of files, disk imaging | Free | 500MB by default, up to 2GB after sharing |
| EaseUS Data Recovery Wizard (Pro) | Full card recovery, larger photo/video libraries | From ~$69.95 (1-month license) | Paid per license term |
| TestDisk | Rebuilding the partition table without formatting | Free, open source | Command-line style interface, steeper learning curve |
| CHKDSK (built into Windows) | Minor logical errors, not true RAW corruption | Free | Rarely fixes RAW; can modify the card and reduce recovery odds |
Roughly How Long Imaging Takes
These are ballpark figures from typical USB 3.0 card readers — your actual time depends on card speed class, reader interface, and how many bad sectors the tool has to work around.
Recovery-First vs. Format-First: Why Order Matters
✅ Recover, then repair
Files stay recoverable. You control the outcome. The card ends up usable and clean.
❌ Format first
The file index is wiped immediately. Recovery becomes far harder, and in some cases the original filenames and folder structure are gone for good.
How I Test the Tools I Recommend
I install every recovery tool I write about myself, create a free account where one’s required, and run it through the free or trial tier first before touching a paid license. For this guide, I worked with an actual RAW-state 64GB microSD card, tracked how long imaging and scanning took, and previewed recovered files before saving them to confirm they weren’t corrupted. This article reflects my own hands-on experience and opinion — it isn’t professional, financial, or technical advice, and results can vary depending on your card’s condition, the extent of corruption, and how much writing happened to the card after it went RAW.
Preventing This From Happening Again
- Never unplug or power off a device while it’s writing, transferring, or formatting a card — background writes can still be running even when nothing looks like it’s happening.
- Always use “Safely Remove Hardware” before pulling a card from a computer’s reader.
- Buy from reputable card brands. Cheaper, unbranded cards fail and corrupt far more often.
- If a card keeps going RAW repeatedly, treat that as a sign it’s dying, not a one-off glitch — replace it rather than keep repairing it.
Watch the Fix in Action
If you’d rather follow along visually, this walkthrough covers the same recovery-then-repair process step by step.
FAQ
Can I recover files from a RAW SD card without formatting it?
Yes. Recovery software reads sectors directly off the flash memory rather than relying on the broken file system index, so files can typically be recovered before you format anything.
Does CHKDSK fix a RAW SD card?
Rarely. CHKDSK is built to fix minor logical file system errors, not a fully RAW, unrecognized file system. Running it on a genuinely RAW card often does nothing, and in some cases can modify sectors in ways that make recovery harder.
Is my data really still there if the card shows as RAW?
In most cases, yes. RAW means the file system’s index is damaged or missing, not that the underlying data on the flash chips has been erased. Recovery software can usually still find and rebuild the files.
Why does my Switch or Steam Deck microSD card show as RAW on Windows?
Those devices, along with many Android 14+ phones, can format cards as EXT4. Windows doesn’t natively support EXT4, so it reports the card as RAW even though the card itself isn’t damaged. Plugging it back into the original device usually resolves this without any repair needed.
Should I choose exFAT or FAT32 when formatting?
Use exFAT for cards larger than 32GB, since FAT32 caps individual file sizes at 4GB, which is easy to hit with 4K video. Use FAT32 only if your device specifically requires it — check your camera or player’s manual if you’re unsure.
Can a RAW SD card be fixed permanently?
You can restore it to a usable state, but if it went RAW because of wear or developing bad sectors rather than an accidental unsafe removal, it’s likely to fail again. Recurring RAW errors on the same card are a strong signal to replace it.
Conclusion
A RAW microSD card feels like a disaster in the moment, but it’s almost always fixable without losing your files — as long as you resist the urge to format right away. Image the card, recover from that image, attempt a partition rebuild with TestDisk, and only format as the final step once everything important is safely copied elsewhere. Follow that order and the card comes back to life with your data intact.