
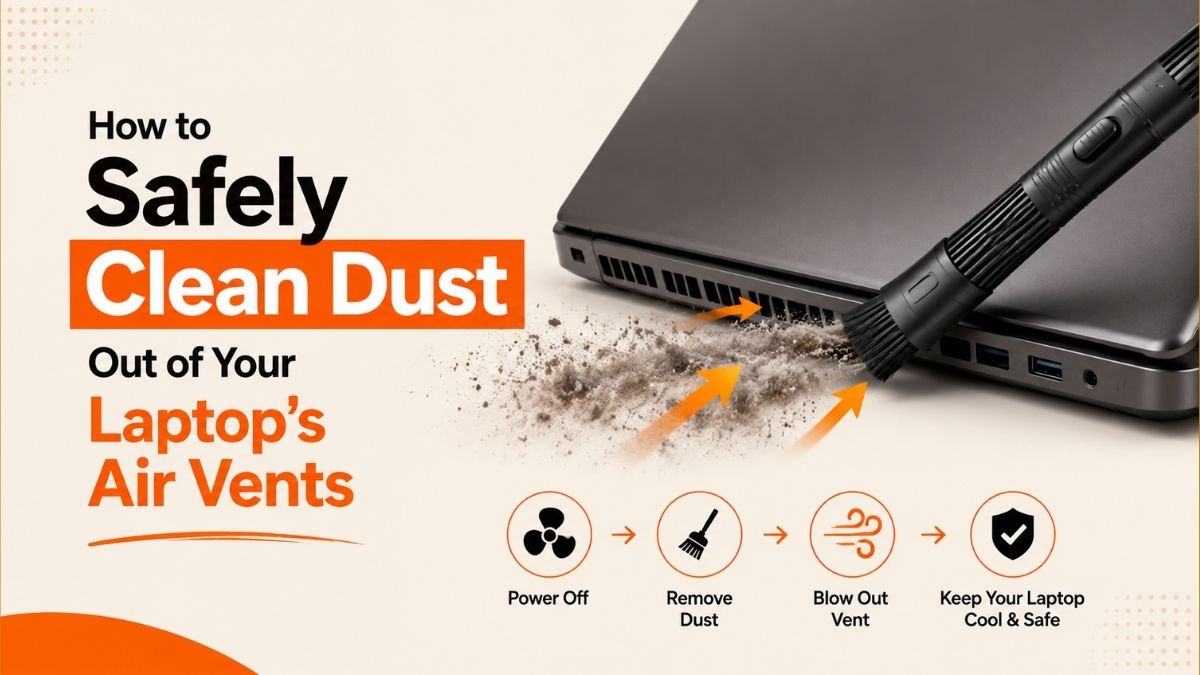
How to Safely Clean Dust Out of Your Laptop’s Air Vents
A step-by-step guide to clearing dust from your fan and vents without frying the motherboard, killing the fan, or voiding your warranty.
⚡ Quick Answer
Power the laptop off, unplug it, and let it cool. Then use short 1–2 second bursts of compressed air (held upright, 2–3 inches from the vent) or a soft anti-static brush to push dust out from the outside in. Never use a household vacuum directly on the vents — it can build up static and fry the motherboard. If the fan still sounds strained after external cleaning, or your model’s bottom panel doesn’t come off easily, stop and get it professionally cleaned instead of forcing it open.
I’ve pulled apart more overheating laptops than I can count while writing for issues2fix.com, and dust is the culprit almost every time. It’s not glamorous, but a clogged vent is one of the few hardware problems you can actually fix yourself in under fifteen minutes — if you do it the right way. Do it the wrong way, and you can spin a fan bearing loose, spray liquid propellant onto a circuit board, or zap a component with static electricity you never even felt. This guide walks through exactly how to do it safely, what tools are actually worth buying, and when to stop and hand the laptop to someone who does this for a living.
Why Dust in Your Vents Is a Bigger Deal Than It Looks
Your laptop’s fan pulls cool air in and pushes hot air back out through the vents. Dust builds up on the heatsink fins and the vent grille like lint in a dryer trap, and once that pathway narrows, heat has nowhere to go. The fan spins harder to compensate, which is why a dusty laptop usually gets loud before it gets slow. Eventually the CPU and GPU start thermal throttling — deliberately slowing themselves down to avoid overheating — and that’s when you notice stutters during video calls, dropped frames in games, or a laptop that’s uncomfortably hot to hold.
Left unchecked long enough, chronic overheating can also trigger driver-level crashes. If you’ve ever hit a sudden blue screen with a message like DRIVER_IRQL_NOT_LESS_OR_EQUAL, heat stress on the storage or network controller is one of the less obvious causes worth ruling out — right alongside outdated drivers.
Signs Your Vents Actually Need Cleaning
You don’t need to clean a laptop on a strict schedule alone — watch for these symptoms too:
- The fan runs at full speed even during light tasks like browsing or word processing
- The bottom or exhaust vent feels noticeably hotter than it used to
- You can visibly see a gray “felt” of dust in the side or rear vent slots
- Performance drops under load, then recovers once the laptop cools down (classic thermal throttling)
- The laptop shuts down unexpectedly during demanding tasks like gaming or video export
What You’ll Need
You genuinely don’t need much. A can of electronics-safe compressed air and a soft, anti-static brush handle 90% of dust buildup without ever opening the case. Here’s how the common tools stack up if you’re deciding what to buy:
| Tool | Cost | Best For | Watch Out For |
|---|---|---|---|
| Canned compressed air | $5–$12 | Quick blowouts of loose surface dust | Tilting the can lets liquid propellant spray out — always keep it upright |
| Electric/rechargeable air duster | $25–$60 | Repeat use without buying cans; no risk of expelling liquid | Cheap models lack adjustable airflow, which can be too forceful for thin fan blades |
| Soft anti-static brush | $5–$10 | Loosening caked-on dust before blowing it out | Won’t reach dust packed deep on the heatsink fins |
| Household vacuum | — | Not recommended directly on vents | Generates static and strong suction that can damage internal parts |
| Professional cleaning service | $30–$250 | Sealed/unibody laptops, warranty concerns, thorough internal cleaning | Cost varies a lot by shop and laptop model — always ask for a quote first |
Step-by-Step: External Cleaning (No Disassembly Needed)
This is the routine I run on my own laptops every few months, and it’s the one I’d recommend to almost anyone. No screws, no risk to your warranty.
- Shut it down completely. Not sleep, not hibernate — a full shutdown. Unplug the charger and remove any USB drives, SD cards, or external accessories.
- Let it cool to room temperature. If the laptop’s been running, give it 15–20 minutes. Cleaning a warm device won’t hurt you, but it does make thermal-related grime harder to dislodge and increases the odds of a static discharge.
- Work on a hard, non-conductive surface. A wooden desk or table beats a carpeted floor, since carpet fibers and low humidity are exactly the conditions that build up static charge.
- Ground yourself first. Touch an unpainted metal object — a door handle, a radiator, anything metal and grounded — for a few seconds before you start.
- Brush the visible dust away from the vent, not into it. Use a soft, dry brush to loosen the surface layer around the grille first.
- Hold the can upright and blow in short bursts. Two to three seconds at a time, nozzle 2–3 inches from the vent. Tilting the can sideways or upside down can force liquid propellant out instead of gas, and that liquid is cold enough to shock delicate components.
- Cover the exhaust vent and blow through the intake (or vice versa) to reverse the airflow. This pushes dust out the way it came in rather than deeper into the chassis.
- Wipe the exterior with a barely damp microfiber cloth. Avoid soaking it — moisture anywhere near the vents is the one thing you want to keep out entirely.
- Power it back on and listen. A noticeably quieter fan is your confirmation the cleaning worked.
Airflow Diagram: How Dust Blocks Cooling
Dust typically clumps at the exhaust vent, right where the heatsink fins are narrowest — which is why reversing airflow during cleaning helps push it back out the way it came in.
When (and How) to Open the Case for Internal Cleaning
If external cleaning doesn’t quiet the fan down, dust has probably packed itself onto the heatsink fins where a can of air from the outside can’t reach. Some laptops make this easy with a single removable bottom panel and a handful of screws. Others — thin unibody ultrabooks especially — glue the bottom panel down or route the fan under layers you’re not meant to touch without training.
Before you reach for a screwdriver, check your laptop’s warranty terms. Opening the case yourself can void coverage on some models, and manufacturers like ASUS explicitly recommend sending certain thin-and-light models to an authorized service center rather than opening them at home. If your model doesn’t come apart easily with basic screws, or you’re not confident identifying the fan cable and battery connector, that’s your signal to stop.
✅ DIY Internal Cleaning Makes Sense If:
- The bottom panel is held on by visible, standard screws
- The laptop is out of warranty
- You’ve watched a teardown for your exact model
- You have a magnetic precision screwdriver and a static-safe workspace
❌ Call a Professional Instead If:
- The case is glued, riveted, or has hidden clips
- The laptop is still under manufacturer warranty
- You’ve never opened a laptop before and it’s your only device
- Cleaning hasn’t fixed the overheating and you suspect thermal paste needs replacing
If you do open the case, unplug the battery cable before touching anything else, and gently hold the fan blades still with a cotton swab or toothpick while you blow air through them. Letting compressed air spin the blades far faster than the motor was designed for can damage the bearing over time — it’s a small habit that adds up.
Watch: A Visual Walkthrough of the Cleaning Process
Mistakes That Actually Damage Laptops
Most of the laptop damage I’ve seen linked to “cleaning” wasn’t caused by dust at all — it was caused by rushing the cleaning itself. A few habits worth dropping for good:
- Spraying while the laptop is running. A spinning fan can act like a small generator and send an unwanted charge back into the motherboard. Always power down first.
- Tilting or shaking the compressed air can. The propellant inside is a liquefied gas — tilt it and you risk spraying freezing liquid straight onto a circuit board instead of dry gas.
- Vacuuming vents directly. Standard household vacuums generate static electricity that has no safe path to ground once it reaches your motherboard.
- Cleaning in a dry room during winter. Relative humidity below 30% makes static buildup far more likely — ground yourself more often in these conditions, or run a humidifier nearby.
- Forcing a panel that won’t budge. If screws are hidden under rubber feet or a warranty sticker, that’s usually the manufacturer telling you this model isn’t meant to be opened casually.
While you’re already troubleshooting hardware quirks, it’s worth checking that background software isn’t making your fan work harder than it needs to. Apps that auto-launch on startup — the kind covered in our guide on how to stop Spotify from opening on startup in Windows — quietly eat CPU cycles in the background and generate extra heat the fan then has to deal with.
How Often Should You Actually Clean It?
| Environment | External Cleaning | Internal Cleaning |
|---|---|---|
| Typical home/office use | Every 3–6 months | Once a year |
| Pet owners / carpeted rooms | Every 2–3 months | Every 6–9 months |
| Workshops, construction sites, dusty environments | Monthly | Every 3–4 months |
| Gaming laptops under heavy sustained load | Every 2 months | Every 6 months |
If you’d rather not track a schedule at all, a professional cleaning service is a reasonable annual habit — most shops charge somewhere between $30 and $250 depending on the laptop and how thorough the service is, with basic external dusting on the lower end and full internal cleaning with thermal paste replacement toward the top.
Before You Start: Back Up What Matters
If you’re opening the case rather than just blowing out the vents from the outside, it’s worth backing up anything important first — there’s always a small risk of a cable coming loose or a drive getting knocked during reassembly. If you’re moving photos off an iPhone before you tinker, our guide on how to transfer photos from iPhone to PC without iTunes covers a faster method than most people default to. And if downloads keep stalling partway through while you’re grabbing driver updates or backup software, check our fix for browser downloads that stop midway before you assume it’s a connection problem.
Dust problems aren’t limited to laptops, either. If you’ve noticed a memory card behaving oddly after being stored somewhere dusty, our piece on the microSD card RAW file system fix covers a related but different failure mode worth ruling out. And if your printer keeps dropping off the network around the same time your laptop starts overheating, it’s usually a coincidence rather than a shared cause — but our guide to fixing a printer stuck offline on a wireless network is worth a look if both are happening at once.
FAQ
Is it safe to clean a laptop with compressed air while it’s still on?
No. Always shut the laptop down and unplug it first. Blowing air into a running device can spin the fan far faster than its motor was built for and risks sending a static or electrical charge back into the motherboard.
Can I use a vacuum cleaner to clean laptop vents?
Avoid holding a standard vacuum nozzle directly against the vent. Vacuums generate static electricity, and their strong suction can be excessive for delicate internal components. If you must use one, use a brush attachment on the lowest setting, held slightly away from the vent, rather than pressed against it.
Will cleaning the vents void my warranty?
External cleaning with compressed air or a brush is generally safe and doesn’t require opening the case. Opening the bottom panel for internal cleaning can void the warranty on some models — check your manufacturer’s terms first, especially if a warranty seal covers the screws.
Why does my laptop get dusty so fast?
Fans pull in ambient air continuously to cool the internals, and that air carries whatever’s floating in the room — pet hair, carpet fibers, cooking residue. Laptops used on beds, couches, or carpets tend to clog faster because soft surfaces also block the intake vents and trap more debris nearby.
How do I know if dust is the actual cause of my overheating?
If the fan runs loud and constant, the exhaust vent feels hot even during light use, and you can see dust in the grille, dust is a likely factor. If cleaning doesn’t reduce fan noise or temperatures, the thermal paste between the CPU and heatsink may have dried out — a separate issue that usually needs a technician.
Still Running Hot After Cleaning?
If dust wasn’t the whole story, the next most common culprit is a driver-related crash. Our guide below walks through diagnosing and fixing it.
Fix DRIVER_IRQL_NOT_LESS_OR_EQUAL →Conclusion
Cleaning dust out of your laptop’s vents is one of the few pieces of hardware maintenance that’s genuinely low-risk when you follow the basics: power off, unplug, work upright with compressed air, keep it away from a vacuum, and don’t force a panel that isn’t meant to come off easily. External cleaning every few months will handle most of what causes fan noise and thermal throttling. If you’ve done that and the laptop is still running hot, loud, or shutting down under load, that’s a reasonable point to stop troubleshooting yourself and get it looked at by a professional — especially if the model is still under warranty or the case doesn’t open with standard screws. A $30–$50 professional dusting is a lot cheaper than a replacement motherboard.
A note on when to get help: This guide covers routine, low-risk maintenance. If your laptop shows signs of a deeper hardware issue — swelling near the battery, a burning smell, repeated shutdowns even after cleaning, or a case that won’t open safely — stop and take it to a qualified repair technician or an authorized service center rather than continuing to troubleshoot it yourself.