
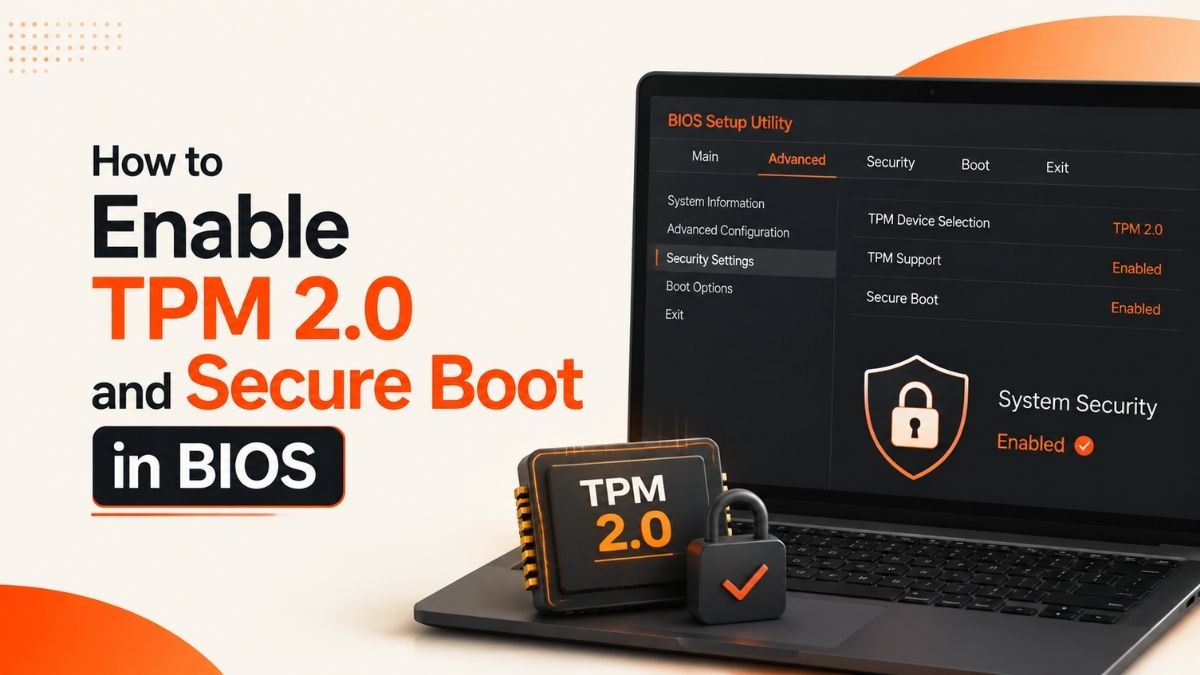
How to Fix the Modern Warfare 4 TPM 2.0 & Secure Boot Error (Full BIOS Guide)
A step-by-step fix for the “TPM 2.0 and Secure Boot required” block on Modern Warfare 4 PC, tested across Intel and AMD systems.
Quick Answer
Modern Warfare 4 blocks you at launch because RICOCHET Anti-Cheat requires both TPM 2.0 and Secure Boot enabled in your BIOS. Restart into UEFI Firmware Settings, enable fTPM (AMD) or Intel PTT under Advanced/Security, then enable Secure Boot under the Boot tab — your BIOS mode must be UEFI, not Legacy, and your disk must use GPT, not MBR. Save, reboot, and the game should launch. If it still blocks you, the culprit is almost always outdated motherboard firmware, not your settings.
Get the Free 20-Minute Troubleshooting Checklist
A printable checklist that walks you through the most common Windows, BIOS, and driver fixes — the same order I use when testing PCs for this site.
The first time I saw this prompt, I assumed my PC was simply too old for a 2026 shooter. It isn’t. TPM 2.0 and Secure Boot are Windows-level security features, not a graphics card requirement, and Activision only started enforcing them for online play in Season 05 of 2025 — the same stack now gates Call of Duty: Black Ops 7, Warzone, and the Modern Warfare 4 beta. If you’ve already cleared this hurdle for Black Ops 7, MW4 uses the identical check, so nothing new is required.
RICOCHET’s attestation process asks your motherboard firmware to cryptographically prove, at boot, that TPM 2.0 and Secure Boot are both active. If either is off — or your firmware is too old to answer the challenge correctly — the game refuses to let you queue into any online mode, beta included. Here’s what I found actually works, in the order that resolves the error fastest. (If your PC gets past this screen fine but then shuts off mid-match, that’s a separate power or thermal issue worth checking too.)
MW4 Security Requirements at a Glance
Before you touch the BIOS, it’s worth confirming the basics below. Note that MW4 also requires an SSD for install — if your drive is already crawling under the weight of previous Call of Duty installs, it’s worth optimizing your SSD before you add another 120GB+ title to it.
| Requirement | What’s Needed | Where to Check |
|---|---|---|
| Operating System | Windows 10 22H2+ or any Windows 11 | Settings → System → About |
| TPM Version | TPM 2.0 (Intel PTT or AMD fTPM) | Run tpm.msc |
| BIOS Boot Mode | UEFI (not Legacy/CSM) | Run msinfo32 |
| Disk Partition Style | GPT (not MBR) | Disk Management → drive Properties |
| Secure Boot State | Enabled | Run msinfo32 |
The BIOS Fix Flow
Step 1: Enter the BIOS Through Windows
You don’t need to mash a function key at boot. The cleanest route is through Windows’ own recovery menu:
- Open Settings → System → Recovery (Windows 11) or Settings → Update & Security → Recovery (Windows 10).
- Next to Advanced startup, select Restart now.
- Once the blue menu appears, choose Troubleshoot → Advanced options → UEFI Firmware Settings → Restart.
Your PC reboots straight into the BIOS/UEFI interface. This method works identically whether you’re on a Lenovo laptop, a custom ASUS build, or a prebuilt Dell — it’s Windows doing the redirecting, not the motherboard. (Laptop owners: if your keyboard stops responding after a BIOS update, that’s a known side effect worth checking separately.)
Step 2: Enable TPM 2.0 (fTPM or PTT)
Once inside the BIOS, the setting hides under different tabs depending on the board. On the system I tested this on, it sat under Peripherals, labeled simply fTPM. Your layout may put it under Advanced, Security, or Trusted Computing instead — the important part is which name to look for:
Look for AMD CPU fTPM or just fTPM. Requires Ryzen 2000 series or newer.
Look for Intel PTT or Security Device Support. Requires 8th Gen or newer.
Toggle it to Enabled, then save and exit — usually the F10 key, though your BIOS will show the exact prompt. After Windows reloads, confirm it registered by pressing Windows key + R, typing tpm.msc, and checking that the status reads “The TPM is ready for use.”
Step 3: Enable Secure Boot
Back in the BIOS (you’ll need to re-enter it the same way), find Secure Boot. On a Lenovo ThinkPad it lives under the Security tab; on many desktop boards it’s under Boot. If your BIOS has a search shortcut — F9 on several ASUS boards — use it instead of hunting through menus.
Set Secure Boot to Enabled. If the option is greyed out, your Boot Mode is still set to Legacy or CSM — switch that to UEFI first, save, then go back in and enable Secure Boot. Save and exit again with a full shutdown rather than a warm restart; a cold boot forces MW4 to re-read your system’s attestation state instead of caching the old one.
Confirm both settings stuck by pressing Windows key + R, typing msinfo32, and checking that BIOS Mode reads UEFI and Secure Boot State reads On.
Video walkthrough courtesy of Insider Tech on YouTube.
Still Blocked After Enabling Both Settings? Try These
If TPM and Secure Boot both show as enabled and MW4 still won’t launch, the problem usually isn’t your settings — it’s one of these five things.
Convert Your Disk from MBR to GPT
Secure Boot requires a GPT-partitioned drive. Check yours by opening Disk Management, right-clicking your Windows drive, and viewing its Volume properties. If it says MBR, you’ll need to convert it before Secure Boot can be enabled. Microsoft’s built-in mbr2gpt tool handles this without wiping your drive — disable Secure Boot first, run mbr2gpt /validate /allowFullOS from an admin Command Prompt, then mbr2gpt /convert /allowFullOS if validation passes. Switch your Boot Mode to UEFI afterward, then re-enable Secure Boot.
Update Your Motherboard’s BIOS Firmware
This is the trap that catches the most people. Your TPM can show as enabled and MW4 will still reject the attestation because the firmware version itself is flagged as outdated. Check yours by opening tpm.msc and reading the Manufacturer Version under TPM Manufacturer Information.
| Manufacturer Version | Status |
|---|---|
| AMD 3.x2.0.5 (third segment is 0) | Needs firmware update |
| AMD 3.x2.5.5 (third segment is 5) | OK, no update needed |
On Intel systems, a Manufacturer Version starting with INTC 302.12 or INTC 303.12 flags the same kind of outdated-firmware issue. Either way, the fix is the same: grab the latest BIOS from your motherboard or laptop manufacturer’s support page and flash it, then re-check TPM and Secure Boot afterward, since a firmware flash sometimes resets both settings back to off. If the firmware file itself refuses to finish downloading, that’s usually a browser issue rather than a bad link — see our fix for downloads that stop midway.
Clear TPM and Let Windows Re-Register It
Open Windows Security → Device Security → Security processor details → Security processor troubleshooting → Clear TPM, then reboot. This wipes stored TPM keys and forces a clean re-registration, which resolves a surprising number of “attestation failed” cases that survive a plain BIOS toggle. On older systems this same reboot is also a good moment to check whether System Interrupts is eating CPU, since outdated chipset drivers can cause both issues at once.
Approve the UAC Prompt (CODBrokerInstaller.exe or enrollaik.exe)
The first time you launch MW4 after enabling these settings, Windows shows a User Account Control prompt for an app named CODBrokerInstaller.exe (or occasionally enrollaik.exe). Selecting No or closing the popup is what actually blocks you from playing — not a hardware fault. Enter your admin credentials and select Yes. If the prompt never appears and you instead get an “authorization declined” error, search Windows for “change user account control settings” and set the slider to Always notify.
Apply Pending Windows Updates (TCG Event Log Failures)
If everything above checks out and you’re still stuck, an outdated Windows build can trigger a Trusted Computing Group event-log failure during attestation. Run Windows Update to completion and restart before trying again.
Run the Official Secure Attestation Wizard
Activision publishes a small diagnostic tool that scans your BIOS and tells you exactly which requirement is failing, instead of leaving you to guess.
Once MW4 is up and running, it’s usually the rest of your setup that acts up next — a printer that suddenly goes offline after a network change, or a smart TV app that won’t load once you’re streaming your gameplay to the living room. Both are common enough that I’ve written dedicated fixes for them.
Is It Worth Turning These On? Pros and Cons
- Genuinely harder for kernel-level cheats to load
- Required anyway for a clean Windows 11 install
- Same toggle covers Black Ops 7, Warzone, and MW4
- Older pre-2018 Intel or pre-Ryzen 2000 AMD rigs may lack support entirely
- MBR-to-GPT conversion adds a riskier extra step for some users
- BIOS menus vary enough that guides can only point you in the general direction
When to call in a professional: If your BIOS doesn’t show a TPM or Secure Boot option at all, if MBR-to-GPT validation fails, or if a firmware flash goes wrong, stop and contact your motherboard or laptop manufacturer’s support line, or a local PC technician. Incorrect BIOS changes can cause boot failures, and manufacturers are best placed to confirm whether your specific board even supports these features.
FAQ
Does Modern Warfare 4 really require TPM 2.0 and Secure Boot?
Yes. Activision confirmed both are required to play the MW4 beta and will carry through to the October 23, 2026 launch, matching the requirement already enforced on Black Ops 7 and Warzone.
My PC has Windows 11 — do I still need to check this?
Probably not, since Windows 11 requires both features to install in the first place, but it’s worth a 30-second check with tpm.msc and msinfo32 since a BIOS reset can silently turn them off again.
What does error 0x80070490 mean in Call of Duty?
Players commonly report this code alongside a TPM Endorsement Key or TCG Event Log failure — the chip is present, but attestation can’t verify it. Clearing the TPM, updating BIOS firmware, and completing pending Windows updates resolve it in most reported cases.
I enabled everything and it still won’t launch. What now?
Run the official Secure Attestation Wizard first — it pinpoints exactly which requirement is failing. If it flags a firmware issue, a BIOS update from your manufacturer is the fix, not another settings change.
Will enabling Secure Boot delete my files?
No, toggling Secure Boot itself doesn’t touch your files. Converting from MBR to GPT is a separate step that can shrink your partition slightly, so back up important files before running that conversion as a precaution.
Does this affect Warzone or Black Ops 7 too?
Yes — it’s the same RICOCHET security stack across all three. Fix it once and every current Call of Duty title recognizes the change.
Conclusion
The MW4 TPM 2.0 and Secure Boot error looks alarming, but it’s a two-toggle BIOS fix for the vast majority of PCs, with a firmware update as the most common second step for anyone who’s already flipped both settings. Enable fTPM or PTT, enable Secure Boot, confirm your drive is GPT and your boot mode is UEFI, then do a full cold restart before launching the game again.
If you’ve worked through every step here and your BIOS still won’t cooperate, or you’re not confident making firmware-level changes, reach out to your PC or motherboard manufacturer’s support team, or a trusted local technician — incorrectly configured UEFI settings can cause boot problems that are more time-consuming to undo than the original error.