
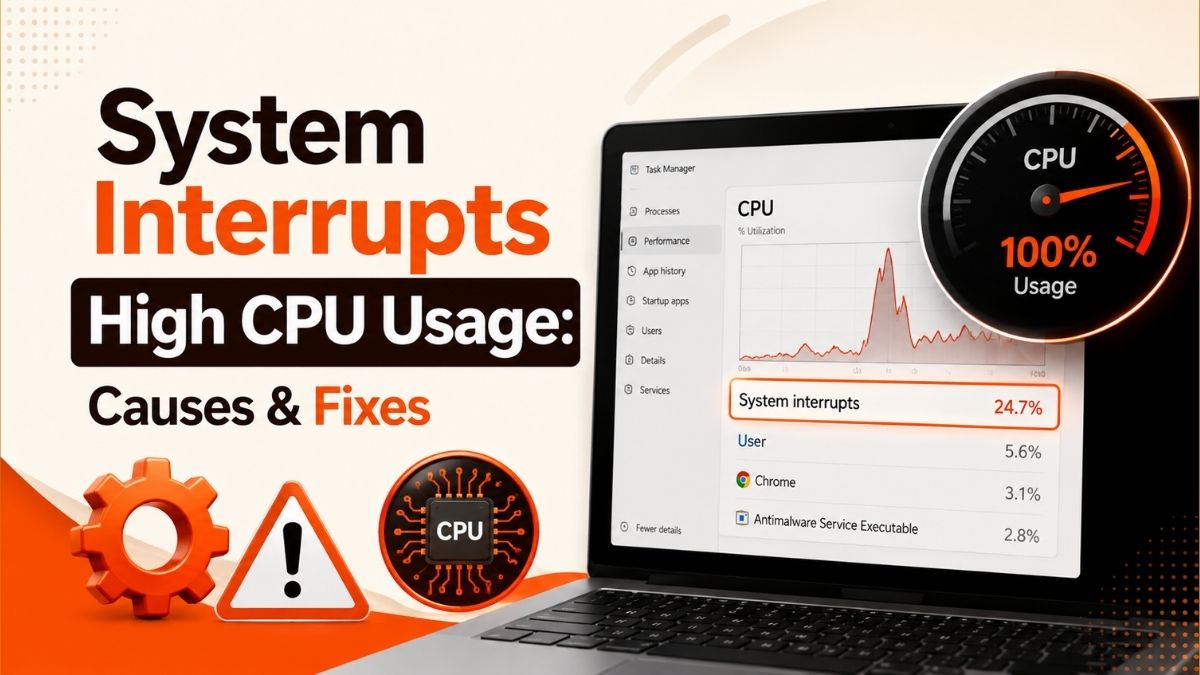
System Interrupts High CPU Usage: What Causes It and How I Fixed It on Windows 10/11
Why “System Interrupts” hijacks your CPU, whether it’s dangerous, and the exact 8-step process I use to track down the driver or hardware behind it.
Quick Answer
“System Interrupts” isn’t malware or an app — it’s Task Manager’s placeholder for the CPU time your hardware spends signaling Windows. Anything under 1–3% at idle is normal. If it’s sitting at 10%, 30%, or higher, the fix is almost always a driver: reboot first, then update or roll back your network, audio, USB, and graphics drivers one at a time while watching Task Manager, and disable unused hardware in Device Manager to isolate the culprit.
Get the Free 20-Minute Windows 11 Troubleshooting Checklist
The exact checklist I run through before touching drivers, BIOS settings, or Device Manager — sent straight to your inbox.
Send Me the ChecklistThe first time I saw “System Interrupts” sitting at the top of Task Manager on a client’s laptop, I assumed it was a hidden background app. It wasn’t. It’s not something you installed, and it’s not something you can right-click and end. Once I understood what it actually represents, tracking down the cause became a lot less mysterious — and that’s what this guide walks through.
What Is “System Interrupts” in Task Manager?
System Interrupts is a kernel-level placeholder, not a real process with an .exe file. It represents the cumulative CPU time Windows spends servicing hardware interrupt requests (IRQs) — the short, urgent signals your keyboard, mouse, network adapter, sound card, USB controllers, and other components send whenever they need the processor’s attention.
Think of it as a front-desk clerk, not a guest. Every piece of hardware in your PC “calls the desk” when it has something to hand off: a packet arrived on the Wi-Fi card, a key was pressed, an audio buffer needs filling. The CPU briefly drops what it’s doing, handles the request through an Interrupt Service Routine (ISR), and often schedules follow-up work called a Deferred Procedure Call (DPC) to finish the job in the background.
Under normal conditions, all of that adds up to a rounding error — usually under 1–2% of total CPU. When a driver is corrupted, a device is misconfigured, or firmware is misbehaving, it can get stuck firing interrupts in a loop, and the CPU time spent responding climbs fast.
How a hardware signal becomes “System Interrupts” CPU time
Is It a Virus?
No. System Interrupts can’t be a virus because it isn’t a loadable program — you won’t find an executable file for it anywhere on disk, and it doesn’t appear in your Startup apps or Services list. Malware can indirectly push interrupt activity up (a rootkit hammering a virtual network adapter, for example), which is why running a scan is still worth doing, but the process itself is a legitimate part of the Windows kernel.
How Much CPU Usage Is Actually a Problem?
Not every spike means trouble. Here’s the range I use when I’m deciding whether to investigate further or just close Task Manager and move on:
| CPU Usage | What It Means | What I’d Do |
|---|---|---|
| 0–2% | Normal, healthy baseline | Nothing — leave it alone |
| 3–10% | Mild driver inefficiency or busy hardware | Restart, check for driver updates |
| 10–30% | A specific device or driver is misbehaving | Isolate hardware in Device Manager |
| 30%+ | Interrupt storm — driver or firmware fault | Full driver/BIOS review, consider a pro |
System Interrupts vs. a Regular CPU Hog
Before you assume it’s a hardware problem, confirm it really is System Interrupts eating the CPU and not a background app disguised behind it. Sort Task Manager’s Processes tab by CPU and watch it for 30 seconds. If a browser or background sync tool is the real offender, that’s a different fix — I’ve got a separate walkthrough on stopping Chrome from eating too much RAM and CPU that’s worth checking first.
What Causes High CPU Usage From System Interrupts
In almost every case I’ve worked on, the root cause falls into one of these buckets:
- Outdated or corrupted drivers — network adapters, audio chipsets, and USB controllers are the most frequent offenders.
- A failing or conflicting USB device — a flash drive, webcam, or hub stuck retrying a handshake.
- Loose or damaged hardware connections — intermittent contact triggers repeated interrupt signals.
- Outdated BIOS/UEFI firmware — especially after a hardware upgrade or on older motherboards.
- Power management conflicts — Fast Startup or aggressive sleep states clashing with certain drivers.
- Faulty RAM — less common, but memory errors can surface as constant interrupt activity.
- Malware indirectly generating hardware-level traffic — rare, but worth ruling out.
Step-by-Step: How to Fix High CPU Usage From System Interrupts
Work through these in order. Each one rules something out, so don’t skip ahead unless you already know the cause.
1. Restart Your Computer
Sounds too simple, but a restart clears temporary driver glitches and resets any interrupt that got stuck looping. Reopen Task Manager afterward and watch System Interrupts for a minute before doing anything else. If it’s back to under 2%, you’re done.
2. Update Your Hardware Drivers
This is where I’d start looking for real culprits. Open Device Manager (Win key → type “Device Manager”) and check these categories first: network adapters, sound/video/game controllers, USB controllers, display adapters, and Bluetooth. Right-click each device → Update driver → Search automatically for drivers. For the best results, grab the driver directly from the laptop or motherboard manufacturer’s support page rather than relying on Windows’ generic version — this matters a lot for Wi-Fi and audio chipsets specifically.
If your CPU spike started right after a network dropout, it’s also worth ruling out an adapter-level fault with my guide on fixing Wi-Fi that’s connected but has no internet on Windows 11.
3. Isolate the Hardware — Unplug, Then Disable
Unplug every external USB device: flash drives, external hard drives, hubs, webcams, printers. Watch Task Manager for a minute after each removal. If usage drops, you’ve found your device. I’ve traced this exact symptom back to a failing USB descriptor before — if Windows is throwing errors alongside the CPU spike, check my USB device descriptor request failed fix.
For internal hardware you don’t use — a secondary NIC, an infrared receiver, an unused Bluetooth radio — disable it one at a time in Device Manager (right-click → Disable device) rather than removing it physically. Don’t touch anything you’re not sure about; disabling a core device (like your only keyboard driver) can lock you out of input until you re-enable it. If a laptop’s built-in keyboard has already started acting unreliable alongside the CPU spike, that’s usually a separate driver conflict — see what to do when a laptop keyboard stops working on Windows 11.
4. Check for a BIOS/UEFI Update
Press Win + R, type msinfo32, and hit Enter. Under System Summary, note your BIOS Version/Date, then compare it against what’s listed on your motherboard or laptop manufacturer’s support page. A firmware update can resolve power-management and hardware-communication conflicts that drivers alone can’t fix — but it’s the one step here I’d treat with real caution. Don’t interrupt the update, don’t run it on battery power alone, and follow the manufacturer’s instructions exactly. If your PC is out of warranty or you’re not confident flashing firmware yourself, this is a good moment to hand it to a technician instead.
Video walkthrough of the diagnostic process, courtesy of the Delft Stack YouTube channel.
5. Turn Off Fast Startup
Fast Startup hibernates the kernel session instead of fully shutting it down, which occasionally leaves drivers in a half-initialized state after boot. Go to Control Panel → Power Options → Choose what the power buttons do → Change settings that are currently unavailable, then uncheck Turn on fast startup. Save and restart. It’s a low-risk change, so it’s worth testing even if you’re not sure it’s related.
6. Run Windows Memory Diagnostic
If the interrupt spike is paired with random freezes or memory-related blue screens, faulty RAM is worth ruling out. Press Win + R, type mdsched.exe, and choose Restart now and check for problems. Windows will run a memory test on the next boot before loading normally. If it reports errors, that stick of RAM needs further testing or replacement — and if the same freeze also throws a driver-related stop code, my DRIVER_IRQL_NOT_LESS_OR_EQUAL fix covers that specific crash in more depth.
7. Run a Full Malware Scan
System Interrupts itself can’t be a virus, but it’s still worth ruling malware out when a machine starts behaving strangely. Open Windows Security → Virus & threat protection → Scan options and run a full scan (or use your existing antivirus’s full-scan mode). Quarantine anything flagged, restart, and recheck Task Manager.
8. Disable Sound Enhancements
Audio drivers are a surprisingly common source of interrupt storms, especially after a Windows Update touches the audio stack. Right-click the speaker icon in the taskbar → Sound settings → More sound settings, open the properties of your default playback device, go to the Enhancements tab, and check Disable all enhancements. Restart and recheck. This is worth trying first if the spike started right after installing or updating an audio driver.
Advanced Diagnosis: Pinpointing the Exact Driver
If you’ve worked through all eight steps and the usage is still high, the fixes above have been ruling things out — now it’s time to name the exact driver. Two free tools do this well:
| Tool | What It Shows | Difficulty |
|---|---|---|
| LatencyMon (free, Resplendence) | Ranks drivers by highest DPC/ISR execution time so you can see exactly which one is misbehaving | Beginner-friendly |
| Windows Performance Recorder + Analyzer | Built into the Windows SDK; captures a detailed interrupt/DPC trace for deeper analysis | Advanced |
| Driver Verifier (verifier.exe) | Stress-tests drivers and forces a crash dump pointing at the faulty one | Advanced — can make the system unbootable if misused |
Install LatencyMon, let it run for 5–10 minutes while you use the PC normally, then check the Drivers tab and sort by highest DPC execution time. Healthy DPC routines finish in well under a millisecond; anything consistently flagged red is your suspect. From there, update, roll back, or (as a last resort) disable that specific driver.
Safe to Try Yourself
- Restart, driver updates, Fast Startup toggle
- Unplugging/disabling external USB devices
- Memory diagnostic, malware scan
- Disabling sound enhancements
Get Help If Unsure
- BIOS/UEFI firmware flashing
- Disabling internal/critical hardware
- Running Driver Verifier long-term
- Interpreting kernel crash dumps
If you’ve gone through diagnosis and you’re staring at a driver name you don’t recognize, or the fix involves flashing firmware on hardware you can’t afford to brick, that’s a reasonable point to hand it to a professional. A local repair tech or your manufacturer’s support line can run the same tools with the added safety net of hardware-level testing equipment.
If Fixing the Driver Doesn’t Fully Resolve It
Sometimes a system that’s been running hot with interrupt storms for a while also picks up other performance issues along the way — a cluttered drive, thermal throttling, or an SSD that’s fallen out of its optimal state. Once your CPU numbers are back to normal, it’s worth a quick pass on the rest of the system: check that your SSD isn’t running slow and needs optimizing, and if the laptop has been running hot, clean the air vents safely — heat-related throttling can mimic and sometimes worsen driver instability. If network drivers were part of the problem, it’s also worth confirming DNS resolution is stable afterward; my DNS server not responding fix covers the most common follow-on symptom.
Frequently Asked Questions
Can I disable System Interrupts in Task Manager?
No. Windows won’t let you end it because it isn’t a process — it’s the kernel’s own accounting of hardware interrupt time. Attempting to “kill” it does nothing; you have to fix the driver or device generating the interrupts instead.
Is 5% CPU usage from System Interrupts normal?
It’s borderline. Brief spikes to 5% during heavy USB transfers or Wi-Fi activity aren’t unusual, but if it’s sustained at 5% while the PC is otherwise idle, a driver update is worth doing before it climbs further.
Why did System Interrupts spike right after a Windows Update?
Windows Updates sometimes install a generic driver over a manufacturer-specific one, or reset power-management settings. Checking Device Manager for a driver rolled back or replaced around the update date is usually the fastest way to confirm this.
Can overheating cause high System Interrupts CPU usage?
Indirectly, yes. Thermal throttling can trigger power-management and firmware-level state changes that generate extra interrupt traffic, particularly on laptops with clogged vents or worn thermal paste.
Should I reinstall Windows to fix this?
Usually not worth it. Because the root cause is almost always a driver, firmware, or hardware issue rather than corrupted Windows files, a clean install often doesn’t resolve it — the same faulty driver or hardware will surface again once it’s reinstalled.
Some of these steps — especially BIOS/UEFI updates and disabling internal hardware — carry real risk if done incorrectly. If you’re not confident with any step here, or the driver name you’re chasing is unfamiliar, it’s worth having a qualified technician take a look rather than pushing through on your own.
Conclusion
System Interrupts looks alarming in Task Manager because it doesn’t behave like a normal app, but it’s a legitimate part of how Windows talks to your hardware. When it spikes, the fix is almost never about the process itself — it’s about finding the driver, device, or firmware issue underneath it.
Start simple: restart, then update drivers. If that doesn’t hold, work through hardware isolation, BIOS checks, Fast Startup, memory diagnostics, malware scans, and audio enhancements in order. And if you get to the point of naming a specific driver with LatencyMon or Driver Verifier and you’re not sure what to do with that information, that’s a perfectly good moment to bring in a professional rather than guessing.
This post may contain links to tools or hardware I recommend; some may earn a small commission at no extra cost to you. See our affiliate disclosure for details. The embedded video is owned by the Delft Stack YouTube channel and is used here for educational reference.